Migrating Facebook Page and Ads Manager From A Personal Account To Business Manager
We recommend to always use Facebook Business Manager to manage your Facebook assets regardless of whether you’re an agency managing campaigns for clients or company granting access to employees or agencies.
This section will walk you through the steps to claim access to assets that were outside of Business Manager (i.e. with a personal Facebook account).
Access required: Admin
Typical scenario: In the early stages of your business, you or an employee created an Ad Account or a Facebook Page using their own personal profile. Your business should now use Business Manager to manage your assets. This will also allow you to easily control grant and revoke access to your assets to your employees or when working with freelancers, agencies, or consultants.
Who performs this action: The Admin of the Business Manager account who wants to claim the assets. (This could be the business owner, a CEO, or other stable member of the organization)
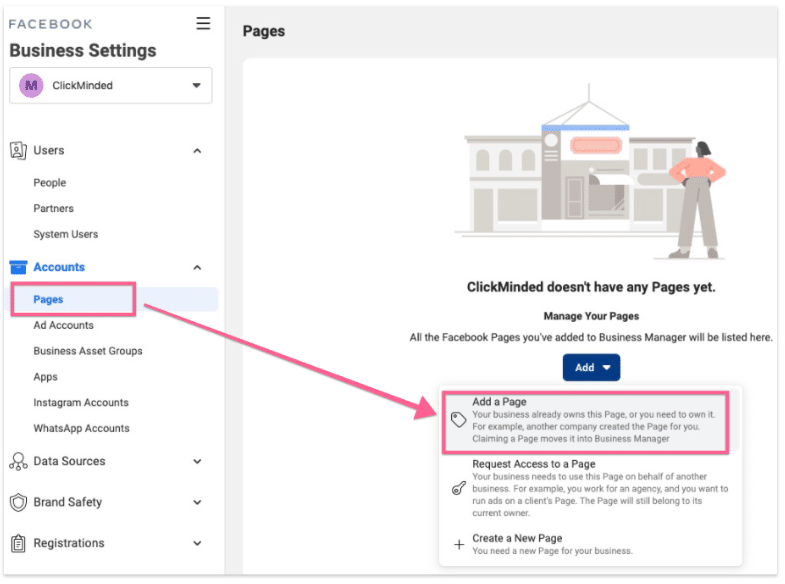
On the sidebar click “Pages” → “Add” → “Add a Page”
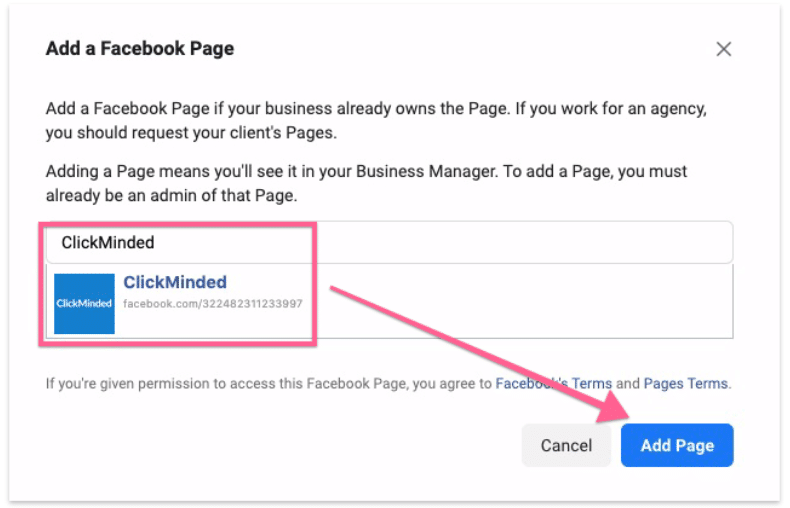
3. Search for your Page’s name, or alternatively paste your page URL → Click “Add Page”:
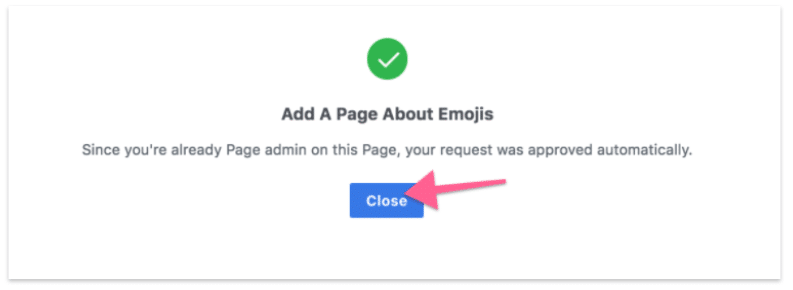
4. That’s it! You’ve added your page to your Business Manager. If you were already an Admin of the page your request will be approved immediately and you will be added as a Page Admin for that page inside your Business Manager.
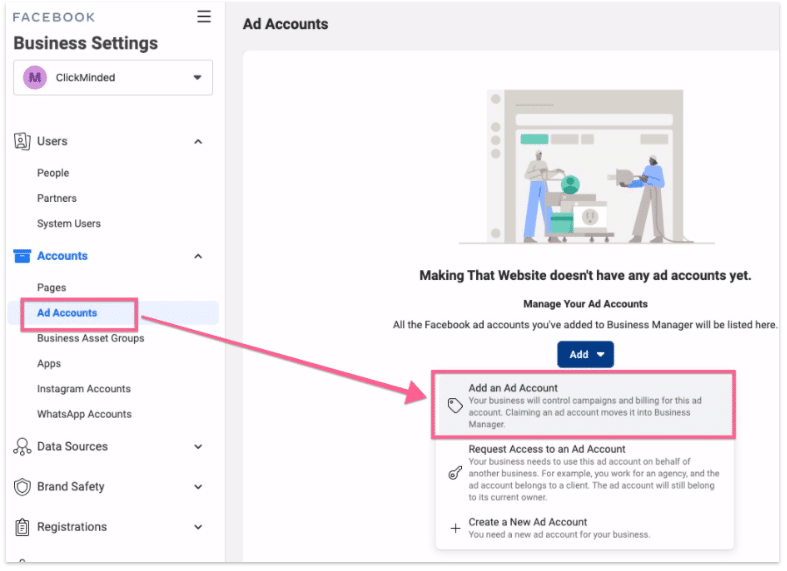
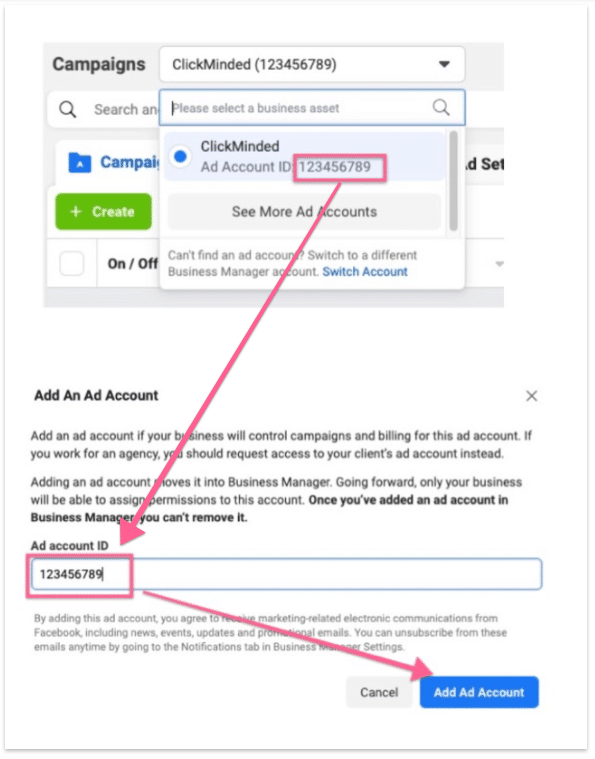
On the sidebar click “Ad Accounts” → “Add” → “Add an Ad Account”.
3. You’ll find a field prompting you to enter your “Ad account ID”, you can find your Ad Account ID by opening “Ads Manager” and clicking on the top-left dropdown. Copy that Ad Account ID over to that field, when you’re done click “Add Ad Account”:
That’s it, you’ve claimed your Ad Account and if you were an Admin before, you now have Admin access to that Ad Account as well.
FOR VACATION RENTAL BUSINESSES:
Get A FREE Chapter Of "Mastering Vacation Rental Marketing"